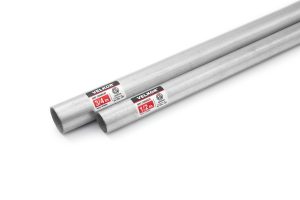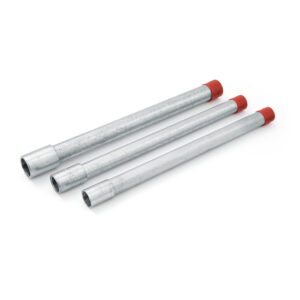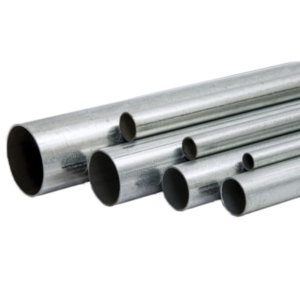
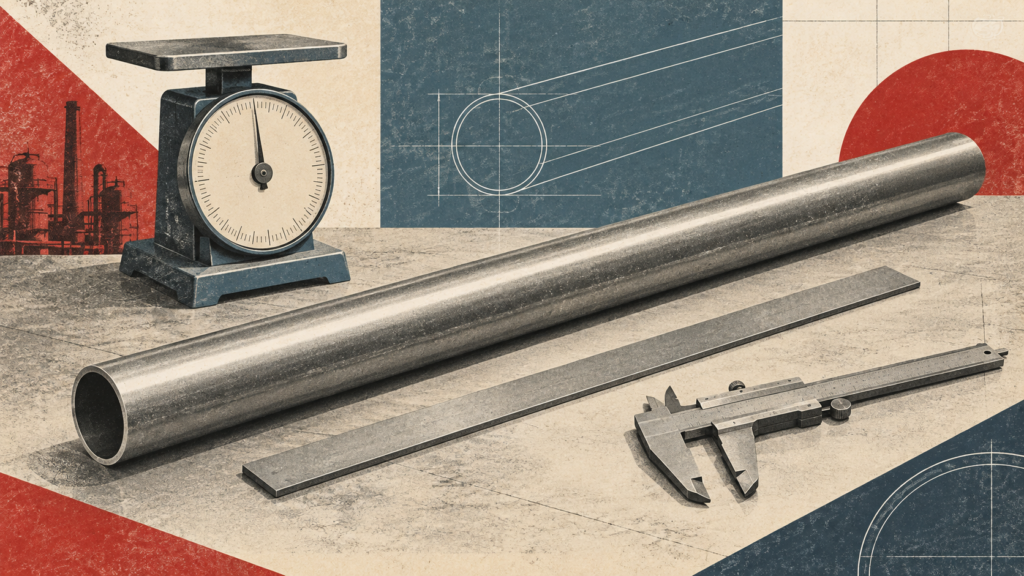
A shiny surface tells you little about what a steel conduit will be like to install. When a sample arrives, a useful first inspection starts with its shape and pipe ends, then moves to dimensions, coating and weight.
Check straightness and the entire pipe rim, measure the dimensions, and weigh individual lengths against a calculated reference. Together, these checks help you spot questions worth investigating. Use your agreed specification to assess the results: the calculator below explains weight differences without assigning a pass or fail.
1. Straightness and Surface Condition
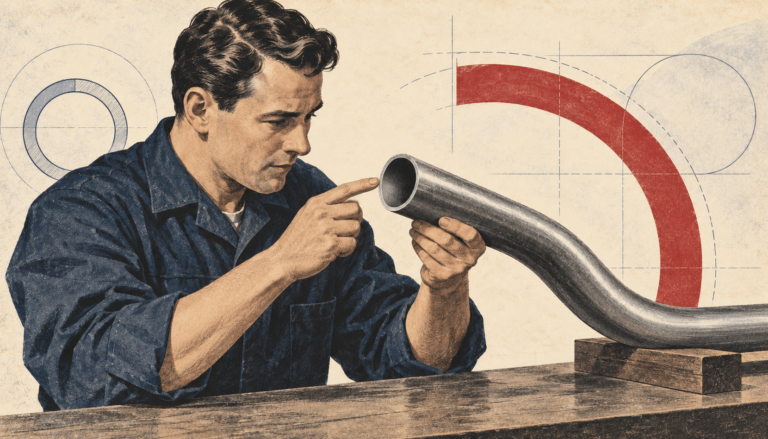
Sight along the conduit, then rotate it to inspect different sides. Look for an obvious bow, local dents or distorted ends. A smooth finish does not make these details less important.
Start with the correct product specification. EMT, IMC and rigid conduit have different requirements; compare your sample with the dimensions and inspection criteria agreed for that product. Visual checking is a first screen, not a straightness measurement.
2. Pipe Ends and Internal Burrs
Pay particular attention to the inner edge. Residual burrs or sharp projections can damage conductor insulation during pulling. Inspect the complete circumference with good lighting, rather than checking only the side facing you.
Do not run a bare finger around an unknown pipe edge. Use a suitable inspection tool to investigate suspicious areas, and check again after deburring. Also look into the accessible bore for sharp projections and loose metal debris.
3. Length, Outside Diameter and Wall Thickness
Measure length, outside diameter and wall thickness using appropriate tools. Take diameter readings in different directions and wall readings at several positions around the pipe end. One convenient reading can miss variation, and pipe-end measurements do not describe every point along the tube.
Keep steel wall thickness separate from a finished measurement that includes coating. For an EMT conduit system, confirm both the intended dimensions and matching fittings instead of relying only on the nominal trade size.
For a closer look at why the measured wall thickness matters in practice, see our article on how wall thickness affects EMT conduit bending.
4. Zinc Coating Thickness
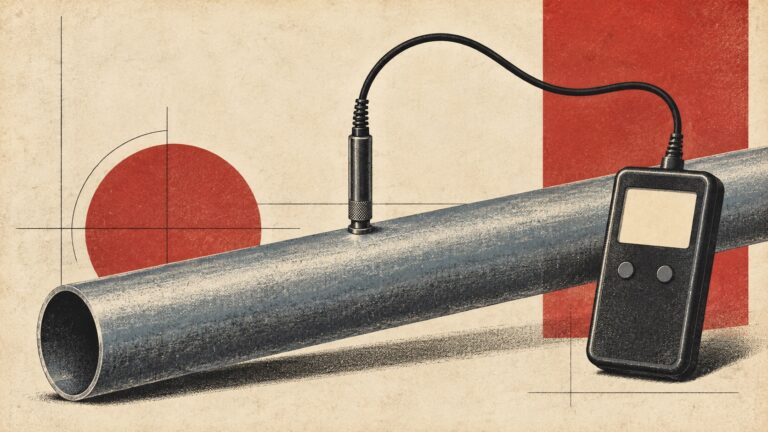
In our practical checks, the post-fabrication hot-dip galvanized tubes we commonly handle give substantially higher coating-gauge readings than the pre-galvanized tubes we compare them with. That is our experience with those products, not a universal distinction between every coating specification.
Use the same suitable gauge, comparable tube diameters and multiple measuring points. Follow the manufacturer's instructions for accuracy checks and adjustments on a representative substrate: curvature matters. A large reading difference can be useful even on a curved tube, but a single reading cannot establish the manufacturing process, inner coating or overall corrosion performance.
For the broader coating comparison, see how zinc coating thickness affects steel conduit quality, including coating mass, coverage and galvanizing process.
5. Theoretical Weight vs. Measured Weight
Weighing individual lengths gives you another simple comparison. For a round carbon-steel tube, calculate the steel body's theoretical weight as follows:
Weight (kg) = (outside diameter − steel wall thickness) × steel wall thickness × 0.02466 × length
Use millimetres for diameter and wall thickness, and metres for length. For our example, take a 17.9 mm outside diameter, 1.0 mm steel wall and 3 m length:
(17.9 − 1) × 1 × 0.02466 × 3 = 1.250262 kg
Approximately 1.25 kg per length.
These are example dimensions, not a universal North American half-inch conduit specification. The formula estimates steel mass; it does not give an exact finished weight for pre-galvanized conduit, which also carries zinc.
For the post-fabrication hot-dip galvanized tubes in our routine comparisons, we use an optional 1.025 experience-based multiplier as a quick reference. Applying it to the unrounded example gives approximately 1.282 kg. The added coating mass varies with the product, so this multiplier is not a universal coating allowance or acceptance requirement.
Try your own dimensions
Theoretical weight per length. Enter the steel wall thickness, excluding coating.
Difference = measured weight − selected reference. Percentage = difference ÷ selected reference × 100. Results describe a comparison; assess them against your own agreed requirements.
Compare like with like: remove packaging, caps and loose fittings from the weighing basis. If a length differs noticeably from your reference or neighbouring pieces, recheck its actual dimensions, coating basis and scale reading. Weight alone cannot tell you which factor caused the difference.
6. Bending Performance and Fitting Compatibility
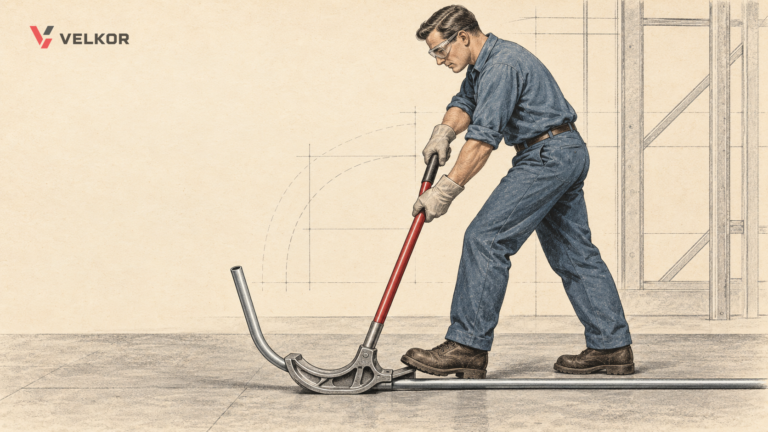
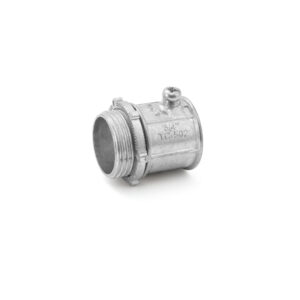
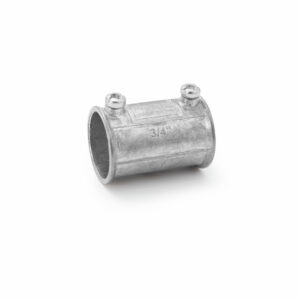
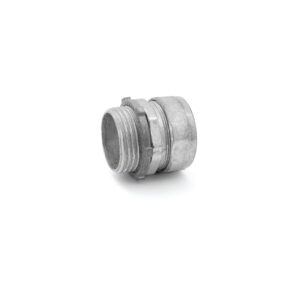
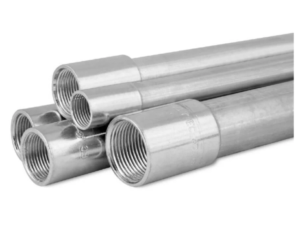
Where bending is required, use the correct bender and specified procedure, then inspect for cracking, excessive flattening and coating damage. Try matching fittings; threaded products also need the appropriate thread checks. Correct weight does not replace these inspections or the agreed test and sampling plan.
For a product-specific comparison, send us the conduit dimensions, coating requirement and measured weight. Keep the measurements together so you can assess the sample against your own purchase requirements.